DIY walk in tub: what you can and cannot do
A practical breakdown of which walk-in tub tasks fit a DIY budget and which require a licensed plumber or electrician.
You can handle surface prep, faucet swaps, and door seal replacement yourself, but cutting the rough-in, moving drain lines, and adding dedicated 240-volt circuits require licensed pros.
- DIY-friendly tasks
- Door seal replacement, faucet hardware, caulking, surface cleaning
- Pro-required tasks
- Drain relocation, venting, dedicated electrical circuits, permits
- Acrylic tub unit only
- $1,500–$6,000
- Standard installed cost
- $3,000–$10,000
- Door seal replacement
- $150–$500
Some links on this page are affiliate links.If you buy through them we may earn a commission at no extra cost to you. We do not accept payment for rankings. Read the full disclosure.
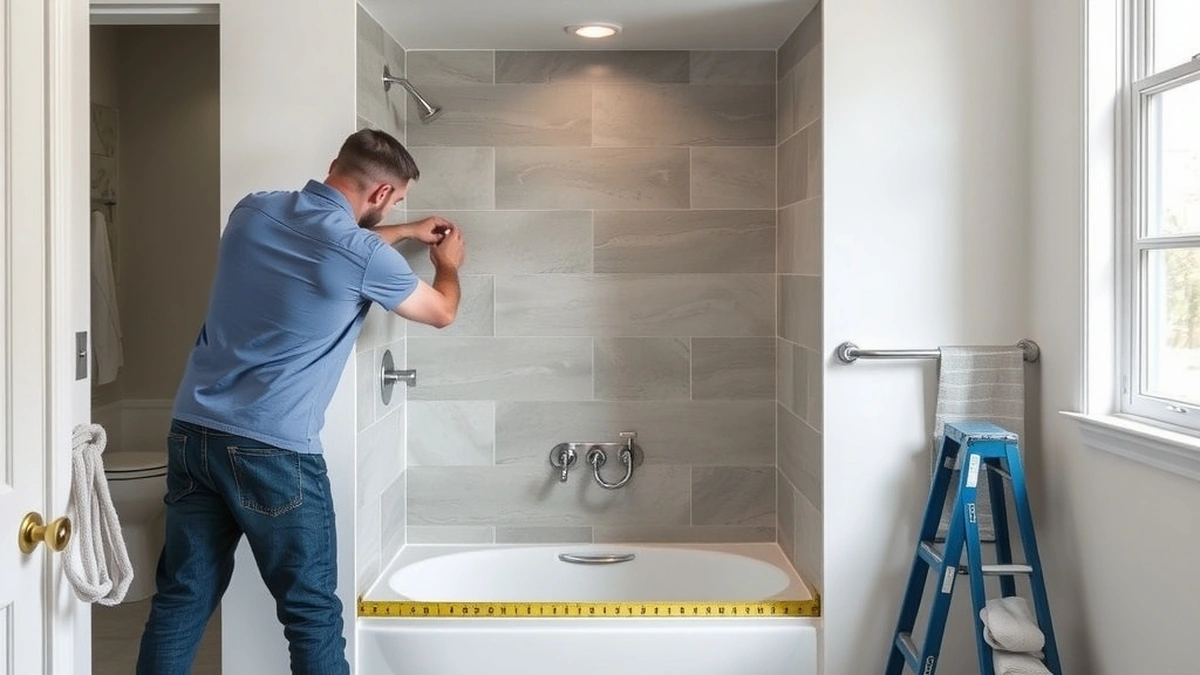
A DIY walk in tub project is possible only for limited tasks. You can replace a door seal, swap faucet hardware, and re-caulk the flange without a license. You cannot legally or safely cut a new drain rough-in, move vent stacks, or install a dedicated 240-volt circuit for a hydrotherapy pump without a licensed plumber and electrician. This guide separates what fits a weekend toolbox from what requires a permit and a trade professional.
Start With Measurements and Door Seals
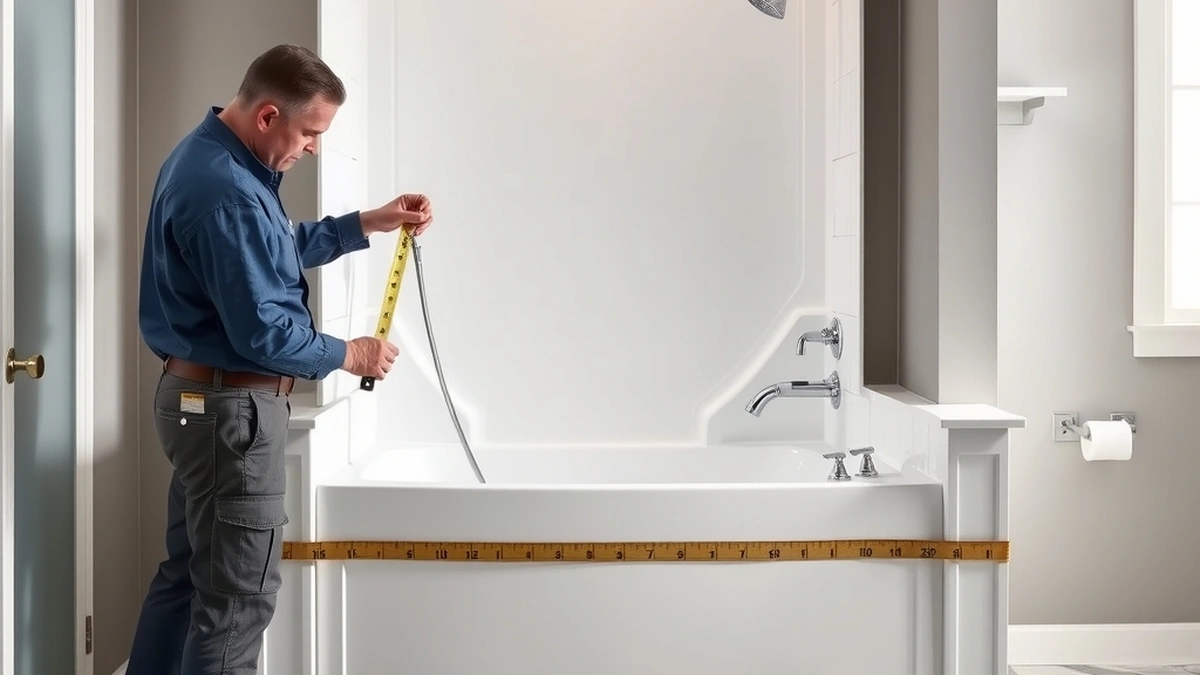
Before buying anything, measure the doorway, the tub alcove, and the floor-to-rim height. A walk-in tub door swings inward or outward depending on the model, and you need clear space on both sides. Measure the existing tub footprint, not just the finished surround, because a new acrylic unit often differs by an inch or two in width and depth.
The door seal is the most common failure point on an existing tub. If water leaks at the door, replacing the seal is a straightforward DIY job. A replacement seal typically costs $150–$500 depending on the manufacturer and profile. Remove the old gasket, clean the channel with a non-abrasive cleaner, press the new seal into place, and run a fill test before using the tub. If the leak persists after seal replacement, the door frame or tub shell may be cracked, which moves the job out of DIY territory.
What You Can Do Yourself
Several tasks around a walk-in tub fall within a confident homeowner’s skill set:
- Door seal replacement: As noted, budget $150–$500 for parts and a few hours of labor.
- Faucet and hardware swaps: Replacing a wall-mounted filler or handheld shower head does not require moving plumbing inside the wall.
- Caulking and surface prep: Re-sealing the tub flange where it meets the wall prevents water migration behind the surround.
- Electrical safety checks: You can verify that a GFCI outlet exists and test it with a plug-in tester, but you cannot install a new circuit.
If you are only replacing the tub shell and keeping the existing drain, water supply, and electrical hookup in place, a DIY swap is sometimes feasible. An acrylic tub unit alone runs $1,500–$6,000. However, “unit only” excludes delivery, setting, plumbing connections, electrical work, and disposal of the old tub.
What You Cannot Do Without a License
Moving a drain or supply line means cutting into the floor, adjusting the P-trap, and maintaining proper slope. A tub drain typically needs a 1 1/2-inch or 2-inch pipe sloped at 1/4 inch per foot. If your rough-in is off by even a fraction of an inch over a 5-foot run, water will pool and eventually leak through the ceiling below.
Venting is another code-controlled item. Plumbing fixtures require a vent to prevent trap siphonage and sewer gas entry. Tapping into an existing vent stack or installing an air admittance valve where not permitted by local code can fail inspection and create health hazards.
Electrical work is strictly regulated. Many walk-in tubs with heated surfaces or hydrotherapy jets require a dedicated 240-volt circuit protected by a GFCI breaker. Running new cable from the panel, installing a disconnect, and obtaining an electrical permit are not DIY tasks in most jurisdictions. Electrical and permit costs typically run $300–$1,200 depending on panel location and circuit length.
Cost Reality Check
Comparing DIY-adjacent costs against professional installation helps set expectations:
| Scope | Typical Cost | Who Does It |
|---|---|---|
| Acrylic tub unit only | $1,500–$6,000 | Homeowner buys; pro usually installs |
| Gelcoat tub unit | $1,000–$3,500 | Homeowner buys; pro usually installs |
| Standard installed walk-in tub | $3,000–$10,000 | Licensed installer |
| Walk-in shower conversion | $3,000–$12,000 | Licensed remodeler |
| Door seal replacement | $150–$500 | DIY or service technician |
| Electrical and permit work | $300–$1,200 | Licensed electrician |
If you buy a $3,000 acrylic tub and pay $300–$1,200 for electrical and permits, you are already near the low end of a standard installed job before paying a plumber to set the tub, connect the drain, and waterproof the surround. A full standard installation typically lands between $3,000 and $10,000. Attempting to save labor costs by cutting corners on drain slope or electrical grounding can produce leaks, code violations, and electrical shock hazards.
Structural and Load Considerations
A filled walk-in tub is heavy. Water weighs approximately 8.34 pounds per gallon. A 50-gallon tub holds about 417 pounds of water. Add a 200-pound bather and the tub itself, and the floor may see 800 pounds or more concentrated in a small area. Most residential bathroom floors are designed for 40 pounds per square foot live load, but a point load from a filled tub can exceed that if the joists are undersized or rotted.
Before installation, check the subfloor for soft spots and confirm the joist spacing and span. If you are replacing a standard alcove tub with a walk-in model of similar footprint, the load path is usually unchanged. If you are converting a shower to a walk-in tub or adding a larger unit, you may need a contractor to verify framing. This is not a DIY assessment unless you have construction framing experience.
Permits and Inspections
Most cities and counties require a plumbing permit to replace a bathtub when the drain or supply is altered, and an electrical permit for any new circuit. Skipping permits can cause problems when you sell the home, because an unpermitted bathroom modification may show up on an inspection report. Homeowner’s insurance may also deny a claim if water damage traces to unpermitted DIY plumbing work.
If your project stays limited to seal replacement, faucet trim, and caulking, no permit is typically required. Once you open a wall, cut a floor, or wire a new breaker, pull the permit. Inspection fees vary by municipality and are usually included in the $300–$1,200 electrical and permit range.
When a Shower Conversion Makes Sense
If the goal is safer entry and exit but a full walk-in tub is too expensive or structurally impractical, a walk-in shower conversion is an alternative. Conversions typically cost $3,000–$12,000 and eliminate the step-over threshold entirely. They also remove the tub basin, which reduces floor load and simplifies drainage. This is generally not a DIY project because it involves waterproofing, shower pan slope, and wall tile or panel installation.
For more on how tubs compare to showers, see our overview of walk-in tub vs walk-in shower. If you are pricing a full professional job, our guide to how much does walk-in tub cost breaks down unit and installation ranges. For existing tubs that leak around the door, our walk-in tub repair article covers seal and gasket issues in more detail.
Maintenance After Installation
Whether you install the tub yourself or hire a pro, ongoing maintenance is a homeowner responsibility. Wipe the door seal after each use to prevent mildew buildup, and inspect the gasket quarterly for cracks or compression loss. Clean acrylic surfaces with a non-abrasive cleaner to avoid scratching the finish, which can harbor bacteria and stain. Check the overflow and drain for hair buildup monthly.
If your tub has hydrotherapy jets, flush the system according to the manufacturer’s instructions to prevent biofilm inside the plumbing. Electrical components such as heaters and pumps should be tested by a licensed electrician every few years if they are on a dedicated circuit. Regular care extends service life; our article on how long does walk-in tub last covers typical durability expectations.
Bottom Line
You can DIY a walk-in tub project only when it stops at the surface: door seals, faucet trim, caulk, and cleaning. Anything involving the drain, vent, supply lines, floor structure, or new electrical circuits belongs to licensed plumbers and electricians. The parts may cost $1,000–$6,000 for the tub alone, but the installed standard job usually runs $3,000–$10,000 because code-compliant plumbing and electrical work are not optional. Measure the opening, inspect the door seal first, and know where your skill set ends before turning off the water.
Next, compare how much does walk in tub cost, walk in tub installation, walk in tub repair before you commit.
Frequently asked questions
What is the most important measurement?
Start with the ceiling or clearance number; it decides which systems can fit.
What does a typical project cost?
Costs vary by system and site access; the guide shows the line items and a planning range.
Can I install this myself?
Some tasks are DIY-friendly, but structural, electrical, and load-bearing work should be done by a licensed professional.
How long does installation take?
A simple setup is a weekend; a full build with electrical or structural work can take several weeks.
What should I check before buying?
Confirm dimensions, load ratings, and the manufacturer's installation requirements for your exact model.
Where can I find local help?
Ask a licensed contractor or installer who has worked with the same system and can inspect your site.
Sources
Some links are affiliate links.If you buy through them we may earn a commission at no extra cost to you. We do not accept payment for rankings. Read the full disclosure.